How to Give a DIY Facial Treatment
Full Instructions for a Spa-Quality Facial
Facials are a wonderfully relaxing experience that result in instantaneous glowing skin. In 30 minutes or so you can make someone's day. Why not schedule in a loved one from your support bubble for a super luxurious and effective in-home spa day.
What You'll Need
Gather together a few essentials before you start your facial treatment.
- A warm room with a high backed chair (a dining chair might do)
- Something to hold the hair off the face
- A towel
- A face cloth
- A bowl of warm water
- Your cleanser (we're using Rosehip & Comfrey cleanser here)
- A face mask
- A scrub, sunflower or olive oil (we're using Brown Sugar & Black Seed Oil)
- A moisturiser

Massage cleanser into a dry face
Remove the cleanser with a damp face cloth
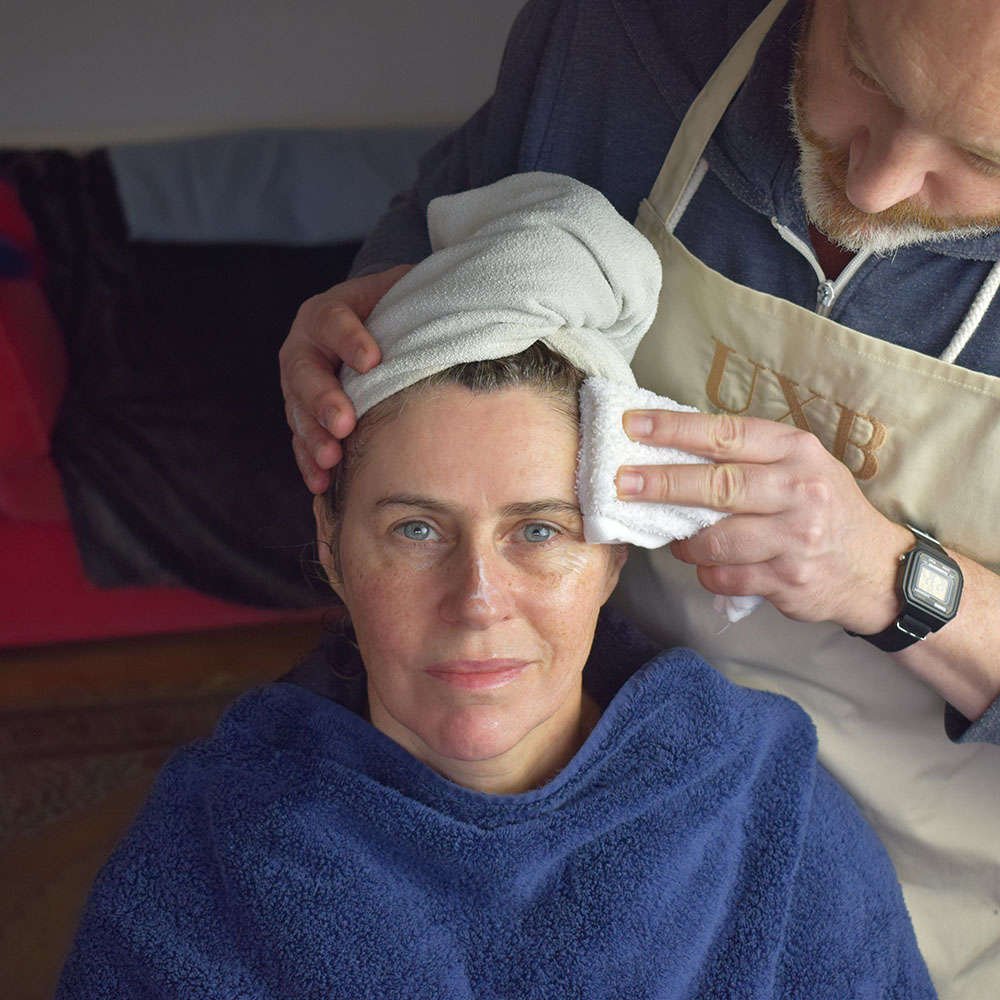
Step 1: Cleanse
Cleansing removes any dirt and grease from the skin allowing active ingredients to penetrate the skin more deeply.
- Add your cleanser to dry skin
- Massage the cleanser into the skin paying special attention to any oily areas
- Remove the cleanser with a warm damp cloth. Wipe the cleanser outwards from the centre of the face.
- Repeat if you have been wearing makeup or SPF
- No need to dry the skin at this point
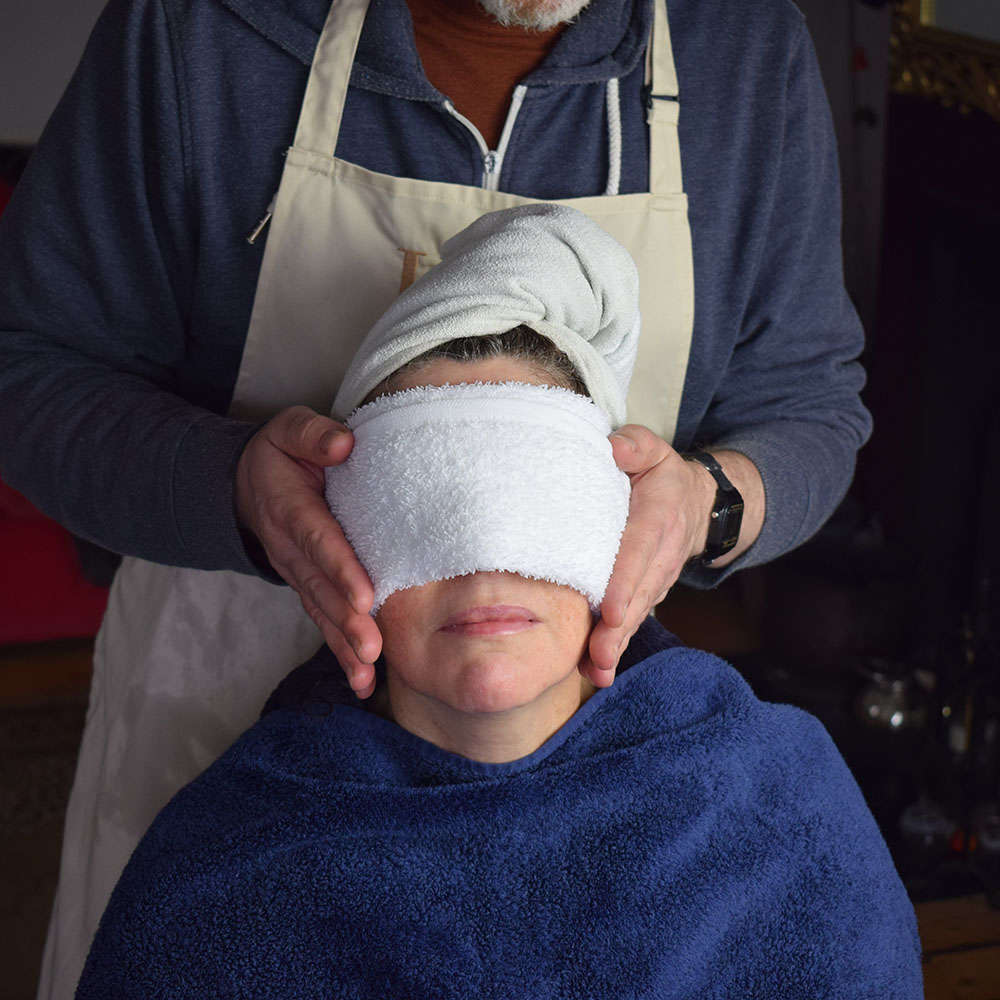
Step 2: Steam
Steaming helps soften the skin and draws blood to the surface helping active ingredients get deeper into the epidermis
- Put a face cloth in warm water
- Place it over the face leaving space to breath through the mouth
- leave for a minute or two
- This is a good time to patch test the mask on your "client's" arm.
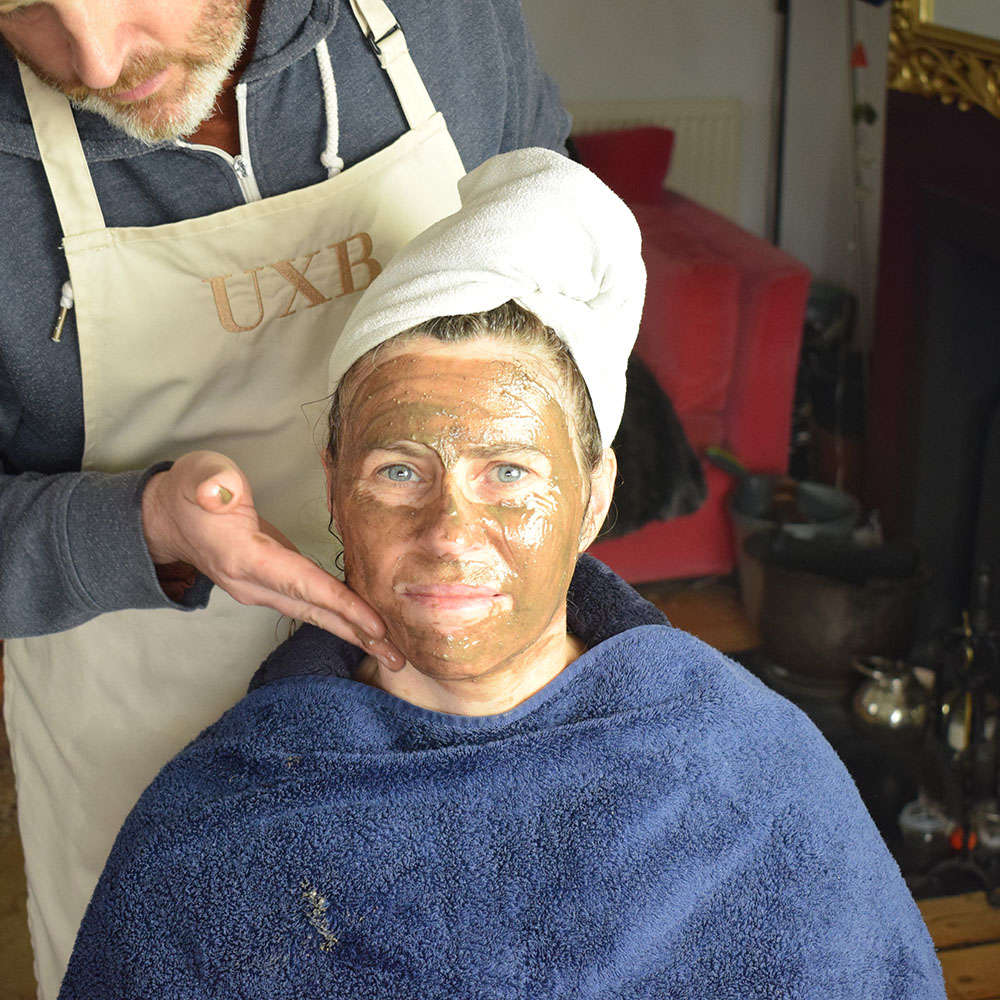
Step 3: Mask
A treatment mask contains high concentrations of active ingredients that you choose to treat a condition that you want to fix, such as hyperpigmentation or fine lines. Leaving the mask on the skin for a period of time allows it to sink deeply into the epidermis
- Apply the mask with your fingers of a mask applicator to the face and neck. Leave gaps around the eyes and nostrils.
- The mask does not need to be applied thickly. This is a waste of product.
- Leave the mask to do its work for 15-20 minutes
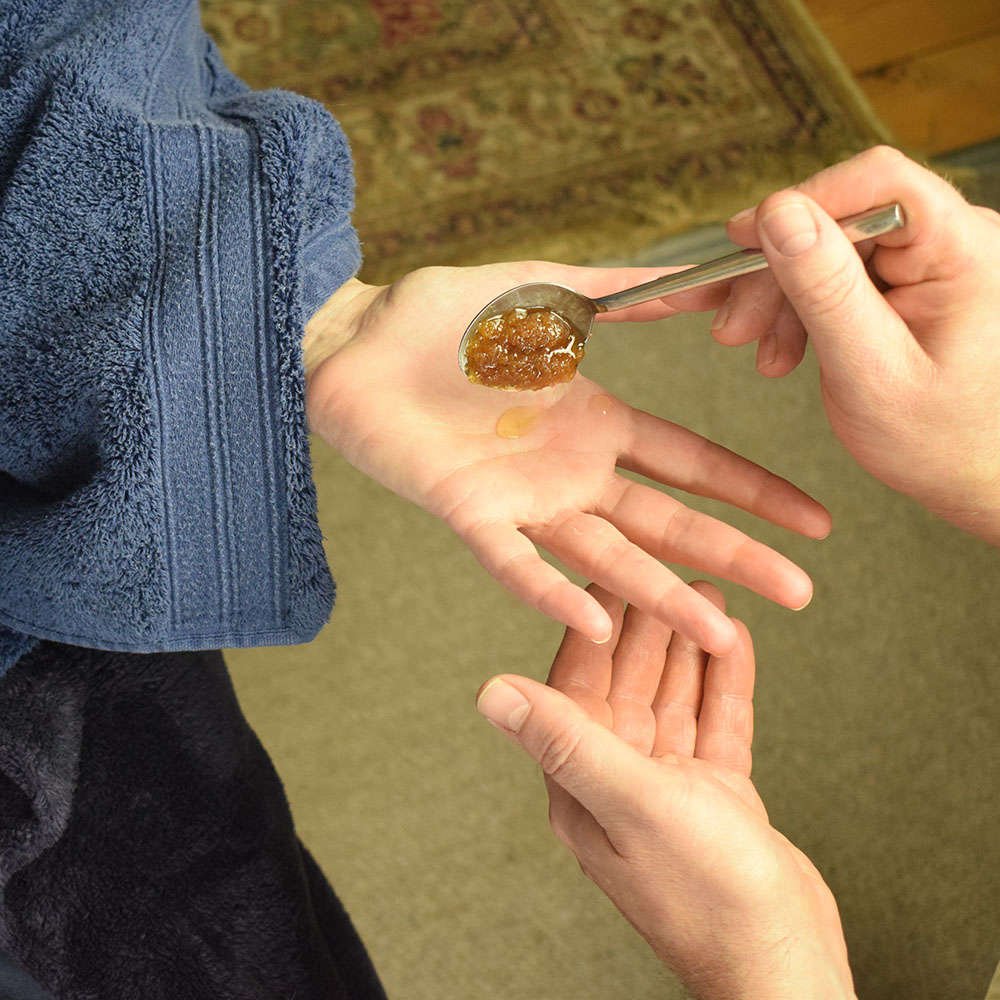
Add half a teaspoon of scrub or oil to the palm
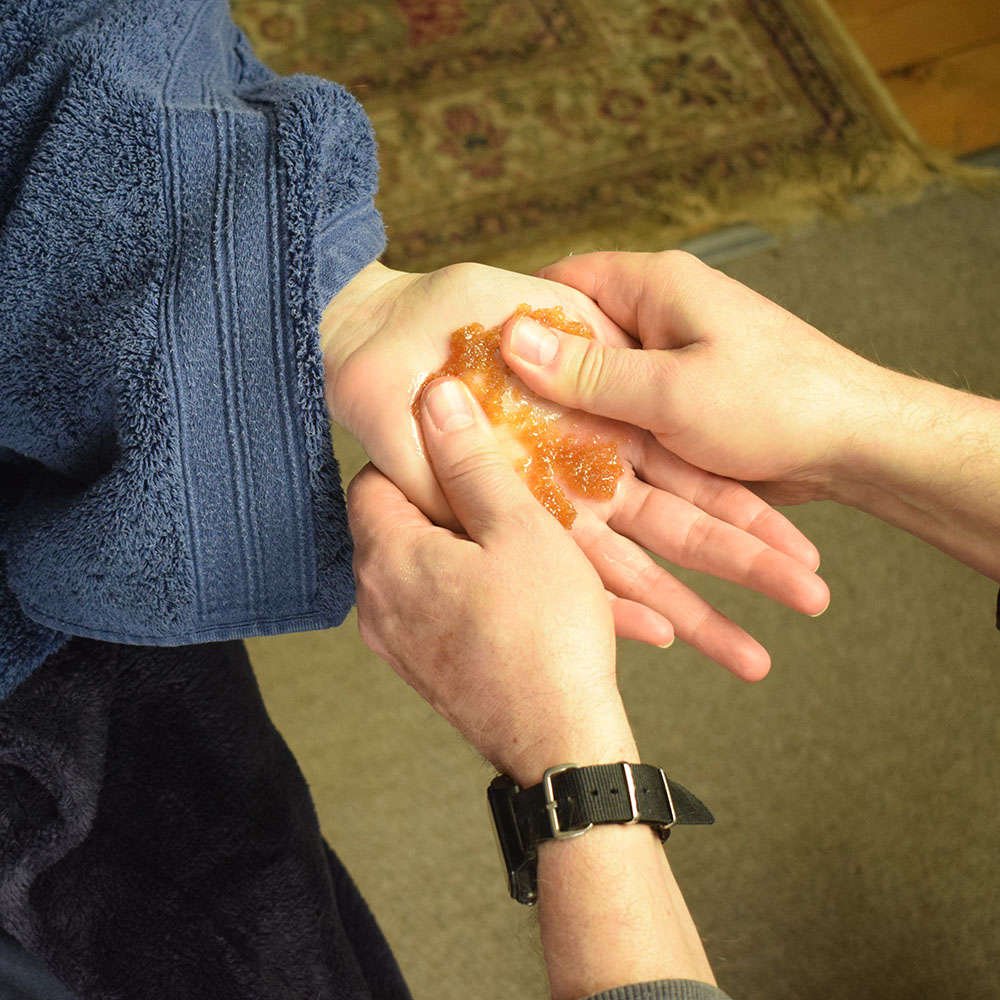
Massage the hands while the scrub does its work
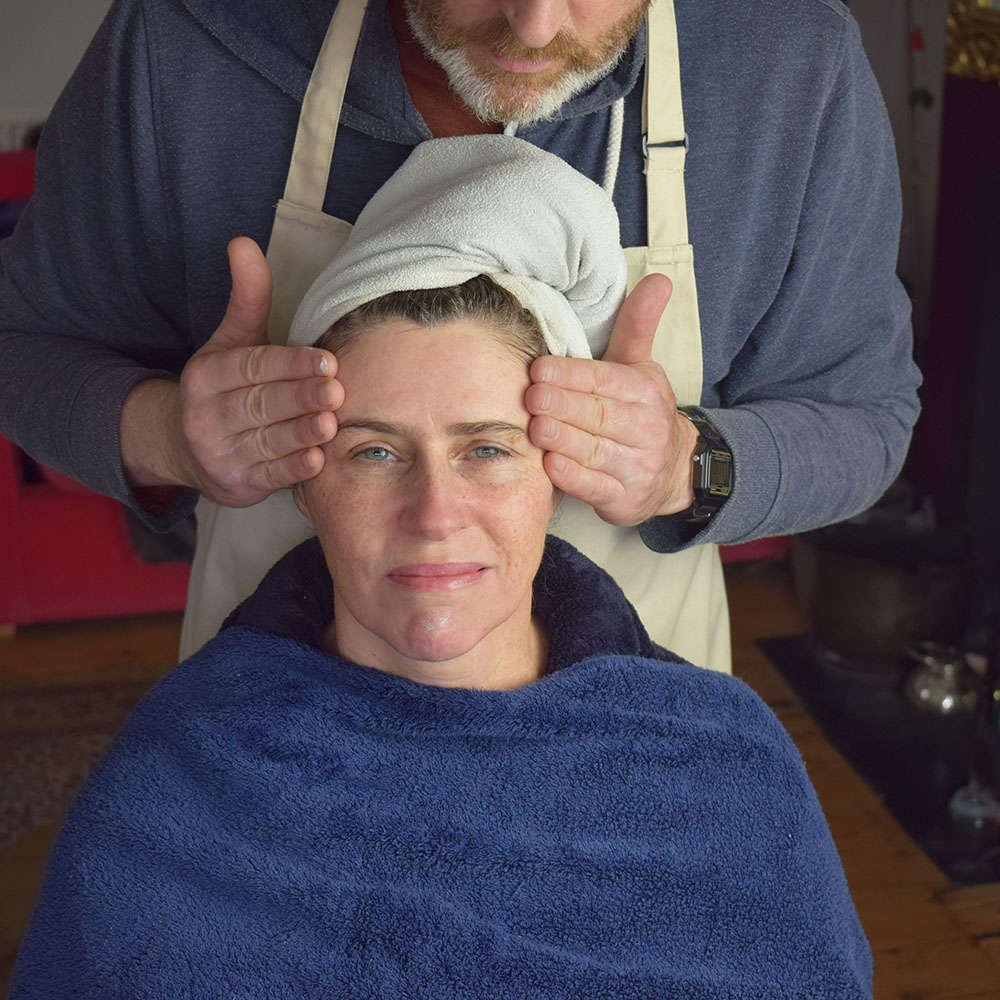
Step 4: Hand Massage
While the mask is doing its work you can spend a little time pampering your "client" with a hand massage
- Take half a teaspoon of oil or scrub
- Spread the oil over the front and back of the left hand in long slow strokes
- Take the hand palm down and hold each finger tip firmly while pushing your fingers up over the knuckle
- Once all of the fingers have been massaged turn the hand palm up and push your thumbs up the palm into the wrist. Do this 7 times.
- Turn the hand over. Push your thumbs in between the bones of the hand up to the wrist. Do this 7 times.
- Lace your right hand with their left hand. Gently shake their hands to loosen the wrist.
- Hold the wrist and pull their hand through yours in long stokes. Do this 4 times.
- Repeat all of the above on the other hand.
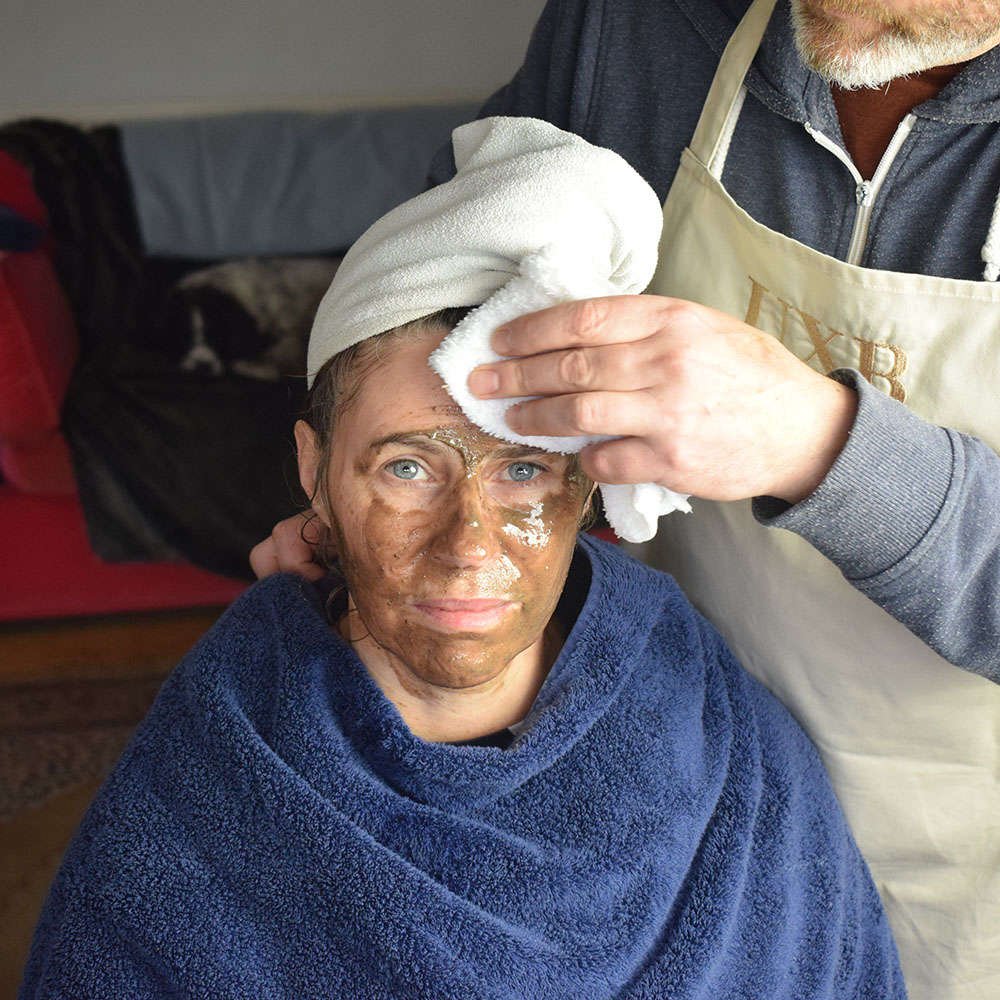
Remove the face mask with a damp face cloth
Massage the cleaner into a damp face
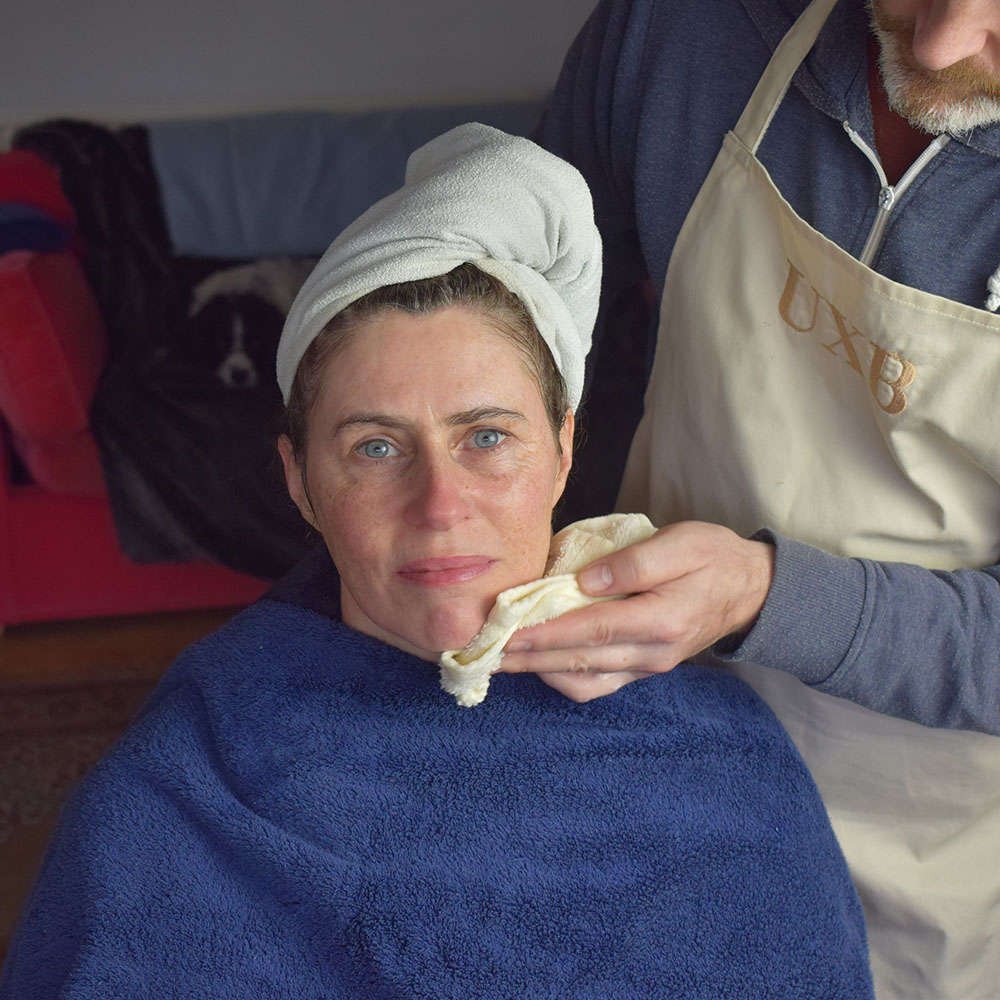
Remove the cleanser with a damp face cloth then dab dry
Step 5: Mask Removal & Cleanse
Once the mask has been on for 20 minutes it will have seeped into the skin and done its job
- Remove the mask with a damp face cloth
- Apply cleanser to the face
- Remove the cleanser with a damp face cloth
- Dab the face dry with a towel
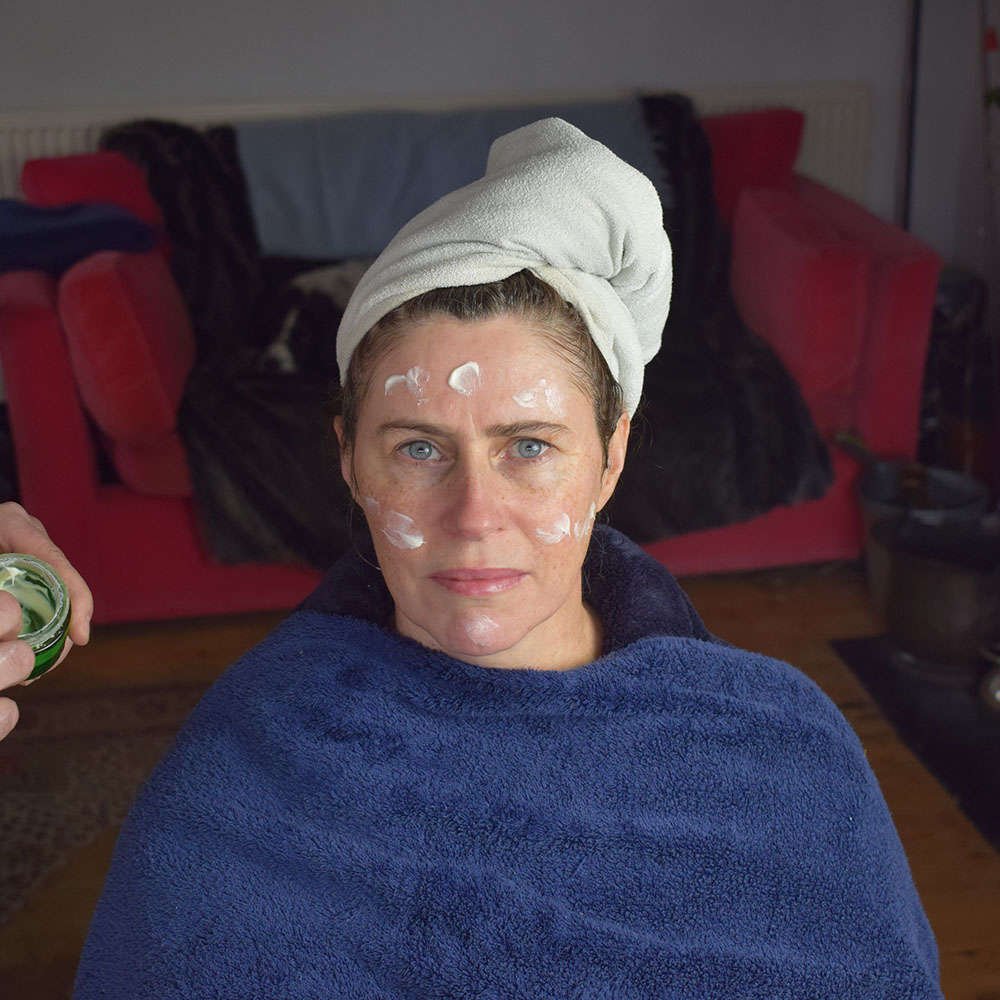
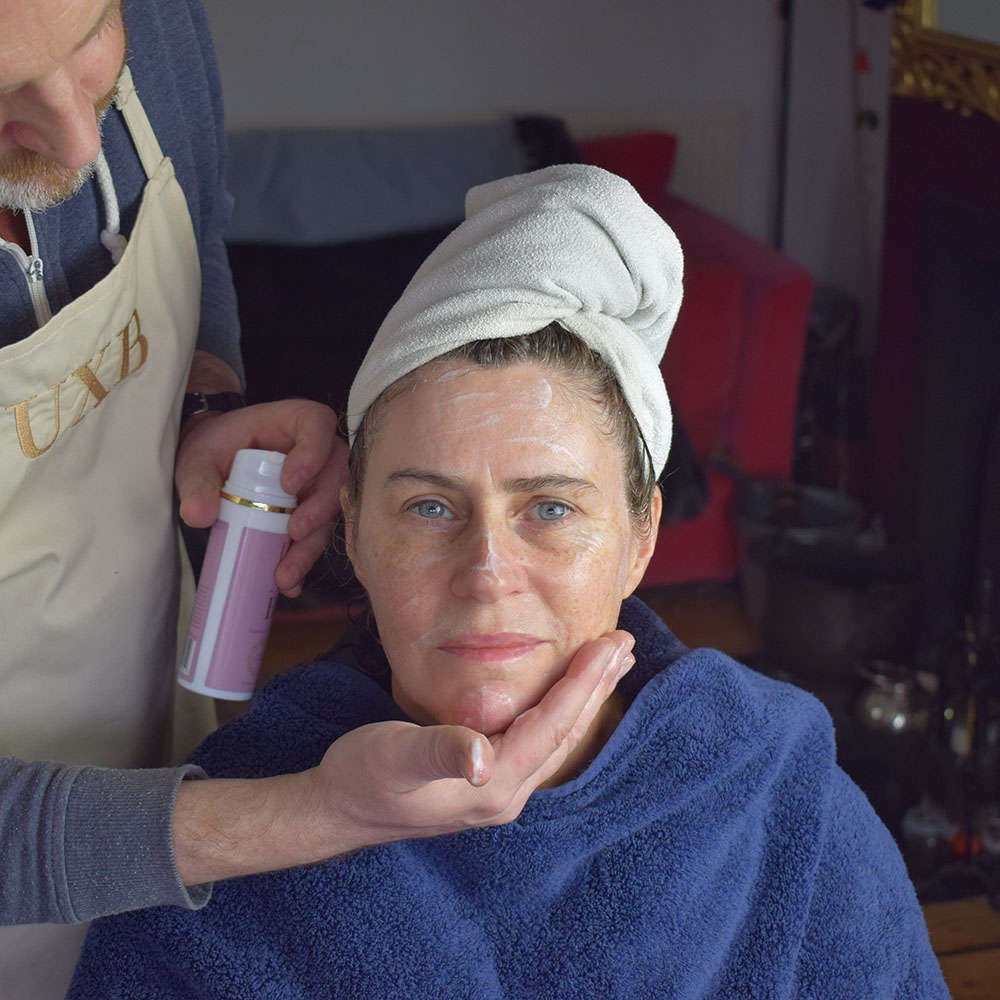
Apply dots of moisturiser around the face
Massage the moisturiser into the face
Step 6: Moisturise
The final step in this facial treatment is to moisturise. This locks in moisture from the cleansing and actives from the face mask preserving that glow
- Dip your fingertip into the moisturiser and place dots of it centrally on your forehead, cheeks, chin and neck
- Massage the moisturiser into your skin pushing it towards the outside of your face
That's it!
Your "client" should be relaxed, happy and glowing.